Digital Photography – Day 1 in the field
The Plan
The camera battery was charged and the night before I’d sat down with my laptop and camera to set it up to take sunny day landscape photos. Armed with the knowledge gleaned from a number of how-to and tips articles, I set out to take the most awesome nature photos ever. Photos that I wouldn’t be able to wait to print and hang in those blank spots on my walls. Well, at least better pics than the ones I normally take on my phone.

The Reality
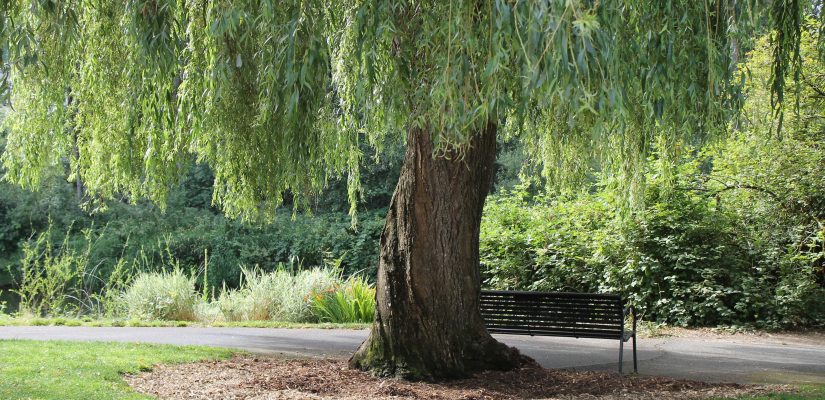
We (my two little ones and I) arrive at the park and it is overcast. Not a problem, just need to adjust the f-stop (very important technical camera term – see the previous post) to account for the lack of sun. It was so much easier adjusting the settings when I was sitting on my couch at home and not trying to watch my son climb up the slide and push my daughter on the swing. Out here in the wild, the button combinations from the night before no longer seemed to change the light settings like I expected.

The thought that attempting my first day with the camera while it was just me and the munchkins might not have been the best idea, began to creep into my thoughts.
The Plan – Take Two
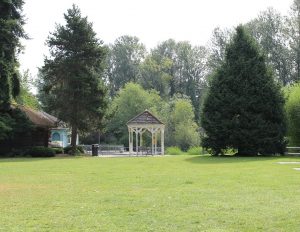
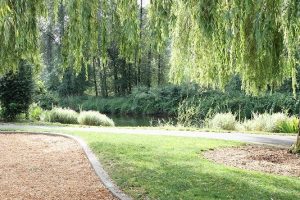
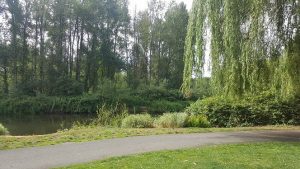
Refusing to be deterred I turned, snapped a quick shot of the river and turned back around. I then did a half turn to the right and snapped a shot of the gazebo. Not really enough time to set the scene and get just the right angles, but enough to let me know I really needed to spend some more time reviewing how to set the depth of field (another important camera term covered in the previous post) for near and far focusing.
Clearly, there would be no wall worthy nature shots happening today. Not a problem, I would simply make some settings adjustments (if only I could remember exactly what those were supposed to be) and snap some shots of my kiddos. Got the camera correctly, possibly, maybe set for action shots, so of course, they decided to stop and pose. By the time I reset for still shots they were moving again. Getting a lot more comfortable with changing settings was now on my must-do list.

Scrolling through the photos on the camera I was unable to tell if they had come out anywhere close to what I intended. As a test, I pulled out my phone and took a couple of similar shots to the ones that I had taken with the camera. The plan was to download them all to my computer later for comparing.
Today’s Big Takeaways
- Digital photography is a lot more complicated than I was expecting.
- The first few times attempting something that requires focus probably shouldn’t involve a two and four-year-old.
- If you are taking photos outside make sure you are comfortable changing the settings since things can change quickly. They have a saying up here in the Seattle area, “if you don’t like the weather, wait five minutes.” I definitely need to get more comfortable changing the settings.
- Consider investing in some settings cheat sheets. There are people out there that have taken the time to try out a variety of settings to see which ones work best under a variety of situations. Why reinvent the wheel. (These are some I found specifically for my Canon that I am contemplating purchasing. They are $10 for a set of 24-28 cards.) If you don’t want to purchase any, spend a little bit of time doing some searching for the settings you are looking for and create your own cheat sheets (example: “digital camera settings for a cloudy day”).