Homemade Marshmallows
I’ve thought about making my own marshmallows for quite some time now. However, having neither a candy thermometer or stand mixer, it just seemed too intimidating. Then mid-November I was surfing around for Thanksgiving recipe ideas and stumbled across an easyish looking recipe for pumpkin spice marshmallows. During my search, I also found some sites that said you could make marshmallows with a hand mixer.
Pumpkin Spice Madness
Maybe it was because I had been seeing pumpkin spice everywhere, but had not yet partaken, but this was the recipe that pushed me over the edge. I was making a trip to Target the next day, so into the basket went the only candy thermometer they had. Even at the time, I knew this thermometer was going to be way too long to clip onto the side of my pot, but I really did not want to stop at another store with two toddlers in tow with the hopes that they would have something better. I would make it work.
I did make these to bring to my in-laws for Thanksgiving, and they did turn out okay, but probably not the best choice for my first attempt at marshmallows. For me, it needed more seasoning. I added a sprinkling of cinnamon sugar over them which helped with the flavor, but the texture is a little odd because of the pumpkin. If you are really into cinnamon spice, definitely worth trying, but not advisable as a first marshmallow.
After that quasi-success, I decided homemade marshmallows and hot chocolate would be great gifts for the guys at my husband’s dojo. This time I went for straightforward vanilla marshmallows. A much better choice for a marshmallow novice.
Marshmallow Basics
I checked multiple sites and the instructions seemed pretty consistent across all of them. Sprinkle your gelatin over ice water, spray your pan, coat it with a confectioner sugar/cornstarch mix, heat the water/sugar/corn syrup up to 240 and slowly add it to your gelatin and whisk in a stand mixer for 15 minutes.
I followed these instructions with the exception that I don’t have a stand mixer and I don’t have a whisk attachment for my hand mixer. Even with that minor change, I think they turned out just fine. If you are going to use a hand mixer, I would recommend that you not do it after an arm workout – even switching between hands, 15 minutes is a long time hold your arm up and move a mixer around a bowl.
The recipe I went with (again, the standard marshmallow recipe is pretty much the same where ever you look), was the one from Alton Brown. Here is a brief synopsis below.
RECIPE
- 3 packages unflavored gelatin
- 1 cup ice water
- 1 1/2 cups granulated sugar
- 1 cup light corn syrup
- 1/4 tsp kosher salt
- 1 tsp vanilla extract
- 1/4 cup confectioners sugar
- 1/4 cup cornstarch
- Put 1/2 cup of the ice water into the bowl of your stand mixer (or a large bowl if mixing by hand) and sprinkle the gelatin over the water. Attach your whisk attachment to your stand or hand mixer.
- In a small saucepan combine the other 1/2 cup water, granulated sugar, corn syrup, and salt. Cover and cover over medium-high heat for 3-4 minutes. Remove the lid, clip on your candy thermometer and continue cooking until it reaches 240 Fahrenheit. Immediately remove from heat.
- Turn your mixer on low and slowly pour the hot syrup mixture down the side of the bowl. Once all of the syrup is added turn the mixer up to high for 12-15 minutes until the mixture becomes quite thick. Add the vanilla during the last minute of mixing.
- While everything is mixing, whisk together the confectioner sugar and cornstarch. Lightly spray the bottom and sides of a 13×9 metal baking pan with nonstick spray and coat with the sugar/cornstarch mix. Pour the extra sugar/cornstarch mixture back into the bowl.
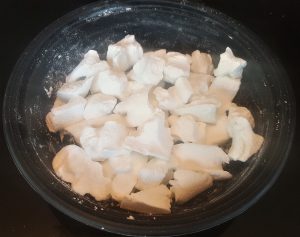
- Using a lightly oiled spatula spread the marshmallow mixture into your sugar-coated pan.
- Cover the top of the marshmallows with the sugar/cornstarch mix. Let them sit uncovered for a few hours (or overnight). If you have any sugar left over, set it to the side.
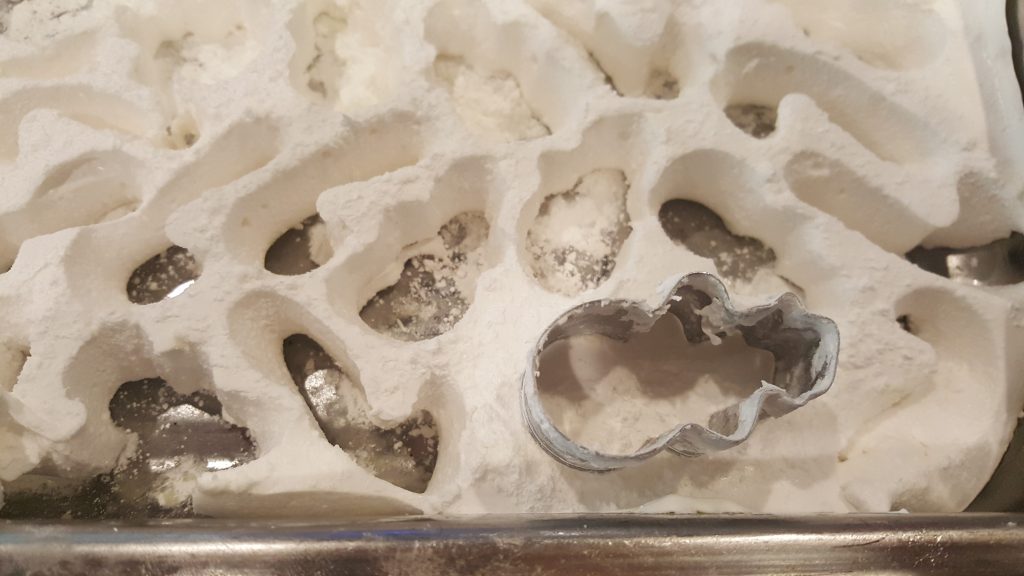
- Turn the marshmallows out on a cutting board and cut them as you see fit. Use a pizza cutter and slice them into squares or use mini metal cookie cutters and cut them into any shape you please. If you don’t have any of the sugar/cornstarch mixture left, make some. After you cut the marshmallows dip the sides in the sugar mixture to keep them from being sticky.
Make Those Marshmallows Fancy
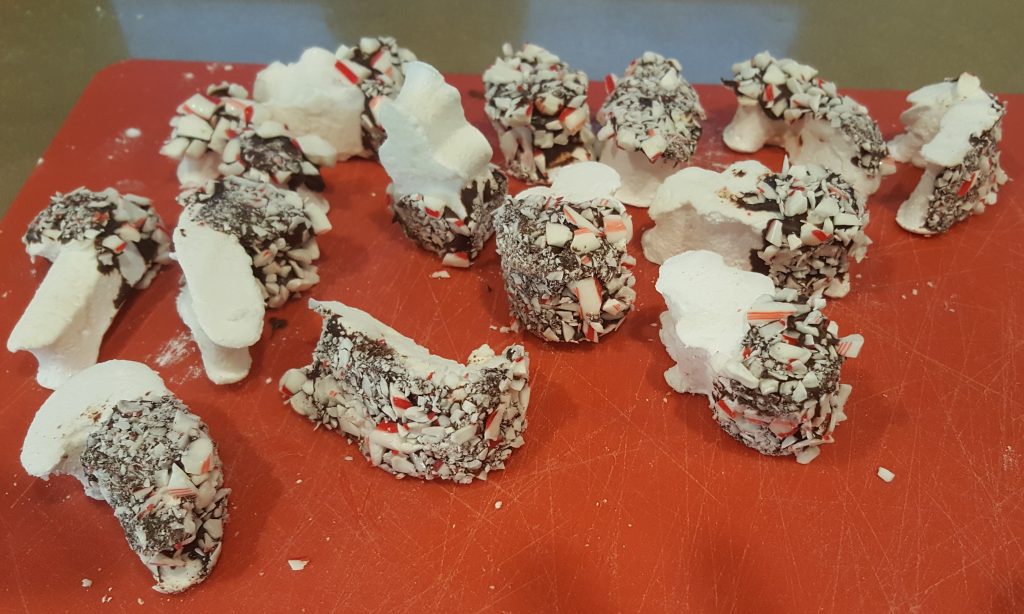
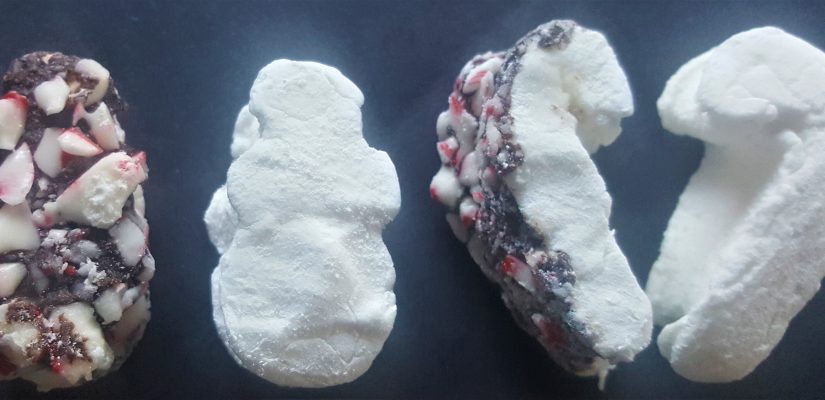
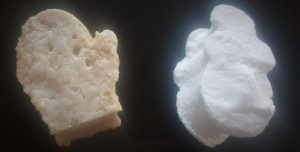
Since I made these to be part of a present, I used small holiday cookie cutters and dipped a few of them in chocolate and crushed candy cane. I had learned from my first attempt that lightly spraying the cookie cutters and coating them with the sugar/cornstarch mix before cutting the marshmallows worked a whole lot easier.
A few take-a-ways and tips
- There are a lot of flavored marshmallow recipes out there but for a first attempt, a basic recipe is probably best.
- If you use a shaped cutter you will likely end up with a lot of odds and ends pieces. Cut them into reasonable sizes, put them in a bowl, dump some of the sugar/cornstarch on them and shake the bowl, or use your hands, to coat all sides of the pieces.
- Homemade marshmallows melt better in hot chocolate than the packed kind. Yum.
- I’m not sure why, but I keep trying to come up with reasons to make more marshmallows.