Inspiration from organization
I finally got a chance to start going through the boxes in the craft area of my closet. More than an organizing session, it turned into an unexpected trip down memory lane. There were things in there that I’ve had for decades. A bit scary that I’ve been alive long enough to have things for decades, but I actually found a few things I’ve had since elementary school (long time no see sticker collection).
Past Pleasures Rediscovered
When I was younger, my mom tried to teach me how to crochet, but it just never took. Even in the height of the craze, I never learned to knit. What I did learn as a kid, and quite enjoyed, is latch hook and embroidery.
Latch Hook
I remember buying latch hook rug kits and finding it so enjoyable. I can’t remember what designs I chose, but there are a wide variety available from animals to sayings. A number of years back I even designed a couple of my own. One of them was the Muppets. I drew it like six window with a different muppet in each one. I got the images from a box of muppet pens that I had come across. The other one of them I just rediscovered started, but still far from done. The drawing is Winne The Pooh with Piglet on his head and they are looking at a butterfly. I even have some of the yarn cut and waiting for me to pick it back up.
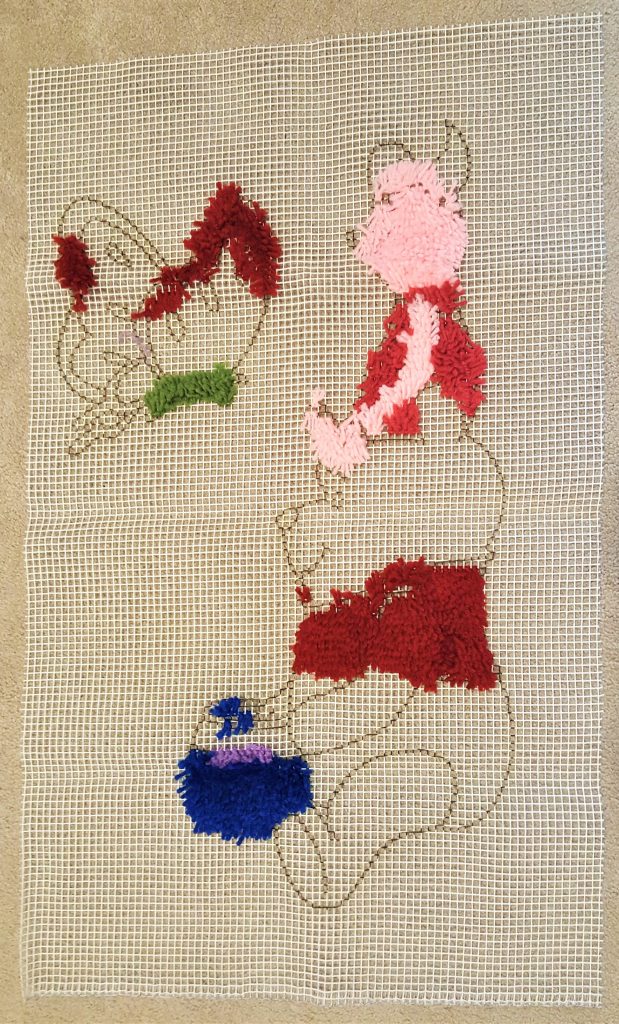
It was simple enough to do my own design. I bought some plain grid backing at a fabric store and cut it to the sizes I wanted. I then drew a picture on the grid using a sharpie. Doing it this way you don’t have the advantage of a pre-colored grid, but as long as you periodically step back and check, and adjust as necessary, it works.
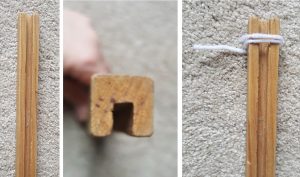
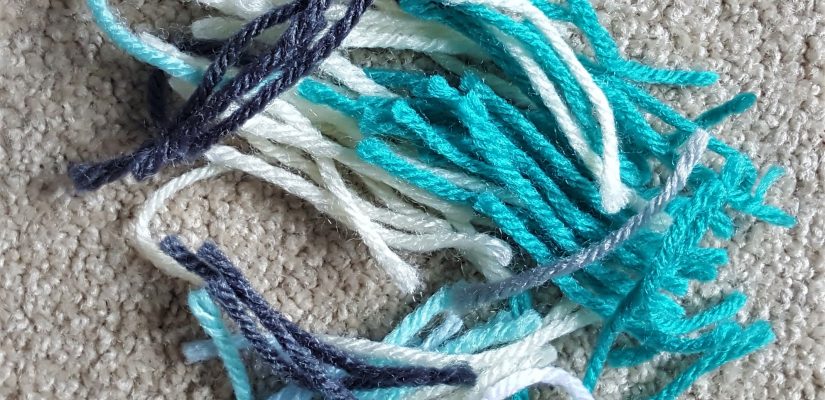
It is possible to buy pre-cut latch hook yarn, but the colors can be limiting. Fear not, it is absolutely possible to make your own.The yarn should be about 2 1/2 inches long and there are a variety of ways to get to that. I have no idea where I got it, but I have a block of wood with a dip in the middle that I wrap the yarn around and then cut down the middle of the dip. When I did a search to see how long the yarn pieces should be, I ran across a method using a couple of strips of cardboard and tape. Or you could simply measure a piece with a ruler and use that as your guide to cut more.
The actual process of latch hooking is pretty simple and safe enough for little ones to join in since there are no sharp objects involved (other than the scissors which can be put away once you get enough yarn cut).
The general idea
- Loop the yarn around the embroidery hook somewhere below the latch.
- Put the hook through the through one of the grid squares, making sure the hook and latch parts are through the square (but not the yarn).
- Pull the yarn up so that you are holding the open end of the loop between the hook and open latch.
- Slowly pull the hook toward you so the latch closes and pulls the yarn through forming a knot.
- If the knot seems loose, grab the two loose ends of the yarn and pull at the same time to tighten the knot.
It can take a little practice to get the knot, but once you get it, you can actually move along pretty quickly.
There are lots of tutorials available, both video and still picture. A few I ran across while looking are:
Mary Maxim Method 1 – https://www.youtube.com/watch?v=P7ik7fEOOWs
Mary Maxim Method 2 – https://www.youtube.com/watch?v=F2PcH6k6r7U
http://www.instructables.com/id/How-To-Make-a-Latchhook-Knot/
Embroidery
To be discussed next time…