Watercolor – My First Dip
Honestly, watercolor paintings have never really spoken to me the way oils and acrylics do. However, when I finally got to Michael’s 50% off holiday sale, all of the acrylic wallet sets were gone and I had a choice of watercolor or pencils. I already have a variety of drawing pencils and was really wanting a paint set, so watercolor it was. I figured I’d get around to trying it out eventually.
Well, after the fun I had at the PaintNite event we attended, I didn’t have any acrylics so I decided it was time to try out those watercolors. I read some tips for beginners, looked at sites that showed paintings in different stages, and flipped through the basic instruction book that came with my paint kit. I meant to watch some videos, and plan to before attempting my next painting, but at this point, I still haven’t.
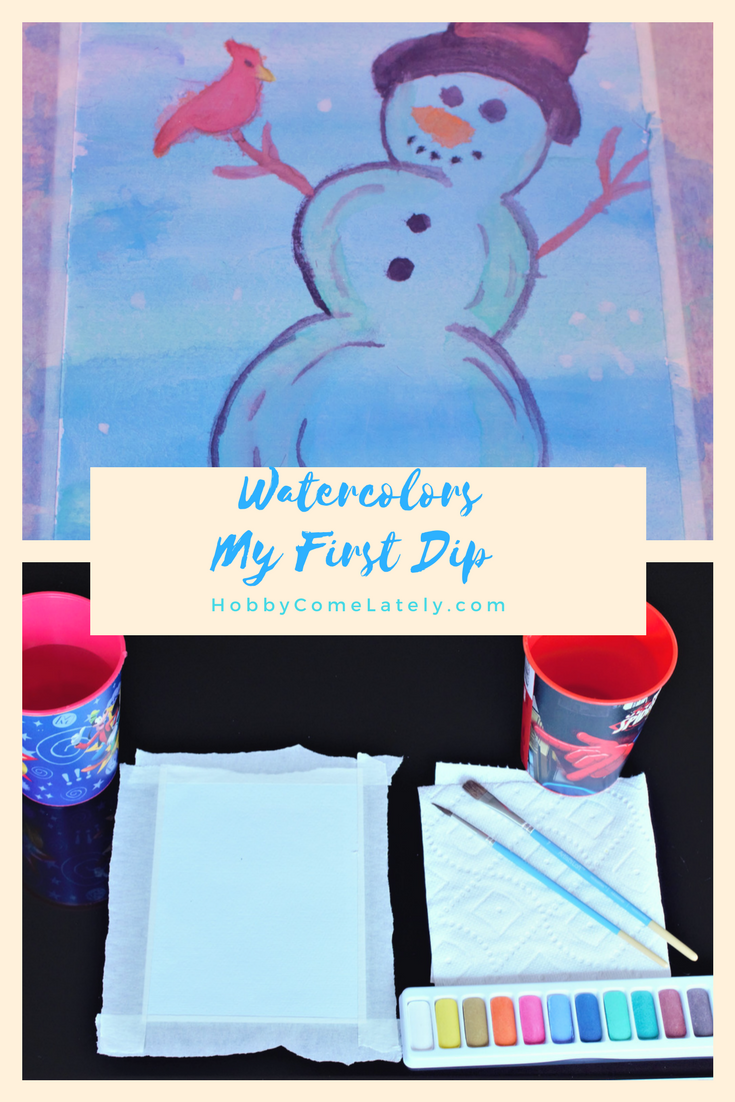
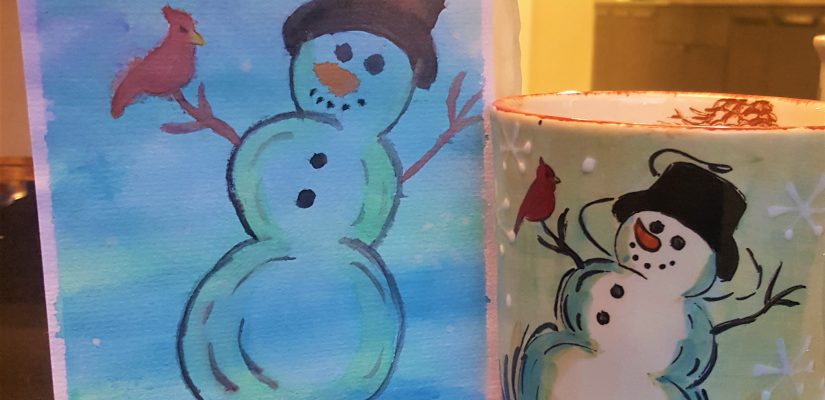
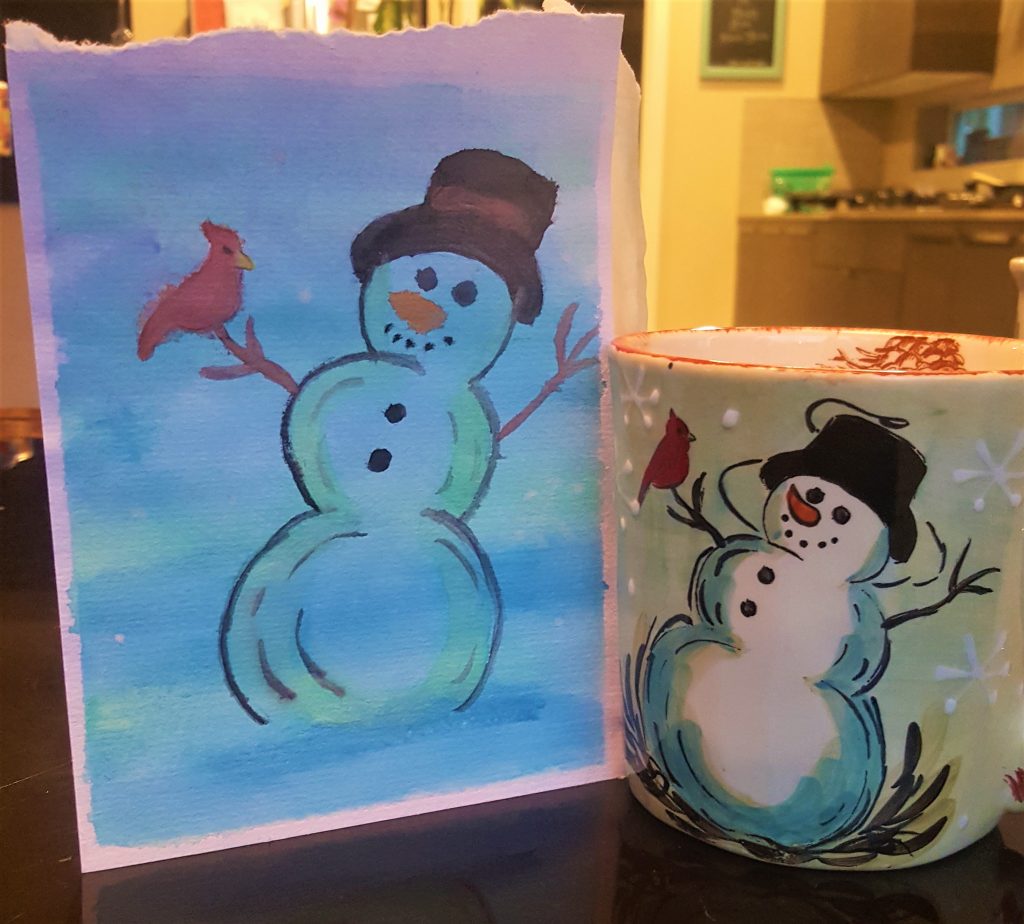
I was setting up my paint area on the dining table, drinking some hot chocolate (had to support National Hot Chocolate Day) and trying to decide what I would paint. I picked up my cup to take a sip and inspiration struck. On my cup was a snowman with a background that looked like it was painted with watercolors. Cute, fairly simple, I could do this.
SUPPLIES
Everywhere I looked (including my set) the basic supplies are all the same:
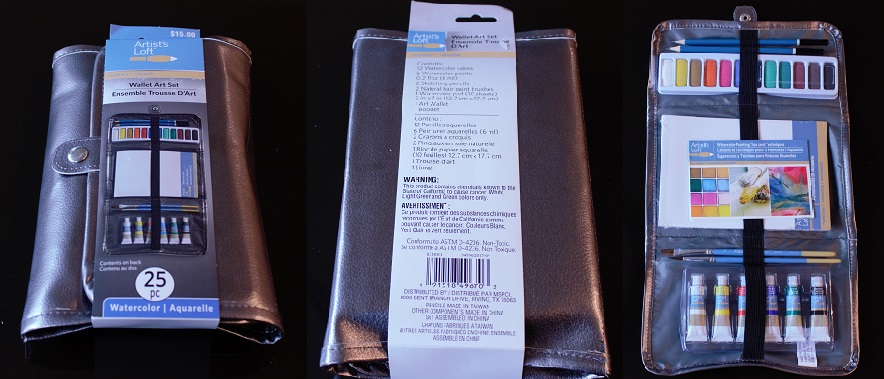
- Watercolor cakes or tubes – I’m still not exactly sure about the tube watercolors, so for this project I used the cakes.
- Sketching pencils – This surprised me. Sketch pencils are used for other types of painting so I’m not sure why I didn’t think I would use them for watercolors.
- Paint brushes – You will, at a minimum, want a small round brush and a flat brush. one of the things I found with my brushes is that they seemed to lose a lot of bristles while I was painting. At first, I was concerned because they were sticking to the paper, but after the paint dried I was able to wipe them off.
A few stray brush strands are nothing to worry about. - Paper – Use either paper designed for watercolors or that is at least #140; otherwise, you risk warping your paper or putting holes in it. The colors will run more (which can be a good thing) on smooth paper and rough paper holds the paint better and allows more control with details.
- Masking tape – In order to keep your paper from moving, I most often saw the suggestion to tape it to a piece of cardboard. Our dining table has a glass center, and I wasn’t planning to try any of the techniques where you allow the paint to run down the paper, so I just taped my paper directly to that.
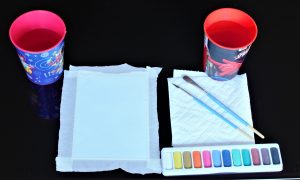
- 2 Water cups – One cup to wash your brush off in and the other to have clean water to wet your paint brush with.
- Paper towel – This is for blotting your brush and blotting up excess water/paint from your painting if need be.
PREPARING YOUR PAPER
Once you have your tools laid out, and your paper taped and propped/laid how you want it, you need to prepare your paper. Using the flat brush, dampen the paper. From what I gather, this is done so the paper doesn’t warp while you are painting. You don’t want to soak the paper, just dampen it a bit.
MIXING & BLENDING
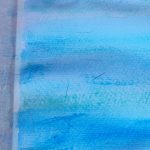
Unlike other types of painting where you use a palette to mix your paint, in watercolor you mix your colors directly on the paper. It’s recommended that you have a piece of paper to use as your test paper rather than mixing directly on your final work. I, however, decided this whole painting was a test so no need for another sheet. Had I used another paper, my poor little red bird need not have suffered or gone through an awkward pink/orange phase. In the end, he came out okay, but not quite what he should have been. Lesson learned.
To mix colors you just paint one color on top of another color while it is still wet and they naturally blend. When put into practice it is really pretty neat. The colors also vary by how wet your brush is. The more water, the lighter the color.
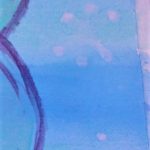
Although it didn’t come through very well on the photos, I was able to make some white snowflakes/drops. I found that putting a little blob of white, when it dried, it actually shows as white.
DRYING
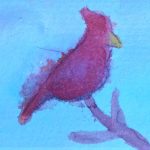 This is very important. If you are painting different colors on top of others, say anything on top of your background, make sure it is completely dry first or your colors will bleed and blend and blur (again my poor red bird). You can be patient and let it air dry or you can use a hairdryer. I was painting in between household chores so I let mine dry naturally. My painting shows the times I didn’t wait long enough.
SKETCHING
 I was so excited to use the background wash/blend technique that I didn’t think to sketch out my snowman first. So rather than a lovely white snowman with blue/green highlights, my snowman is blue with greenish highlights. I attempted to lighten his stomach area with the white paint, but white has a pretty limited effect in watercolor. My new story is that it is a cloudy evening and snow often looks slightly blue under that lighting.
BRUSH STROKES
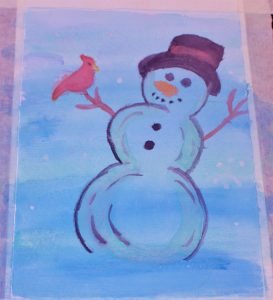
For larger areas, like the background, you’ll want to use the flat brush. But the flat brush can also be great for finer lines if you use the edge of it. For mine, I used the tip of the small round brush for the line painting and filling in the bird and the flat brush for the background and filling in his hat.
Reference and Take-A-Ways
- As I mentioned, I reviewed a number of sites to pick up tips. The one I went back to most often was https://feltmagnet.com/painting/Baby-Steps-to-Beginning-Watercolor-Painting. I didn’t fully get everything, but there are some examples of different techniques and explanations of why to use certain things.
- I wasn’t sure if I would enjoy watercolor painting, but I really liked it. I actually enjoyed it a little bit more than the acrylic painting. This could have to do with my choosing a much simpler picture to start with.
- Since it needs time to dry between layers, this fits well with the many interruptions from my little ones. Keeping little fingers off of it during drying times did take a bit of work, but that’s what I get for using the dining table.
- If your painting doesn’t turn out quite how you intended, make up a new story so that it does. Have fun with it and start with something simple. No need to stress yourself out by choosing a difficult subject matter.